User guide#
Application host
This guide assumes that the application is running on the localhost on port 3000. The host location is, therefore, http://localhost:3000. Adjust your paths accordingly, if another host is used.
To obtain access to any of the endpoints, you will first have to sign in using a basic authentication prompt as provided by your browser.
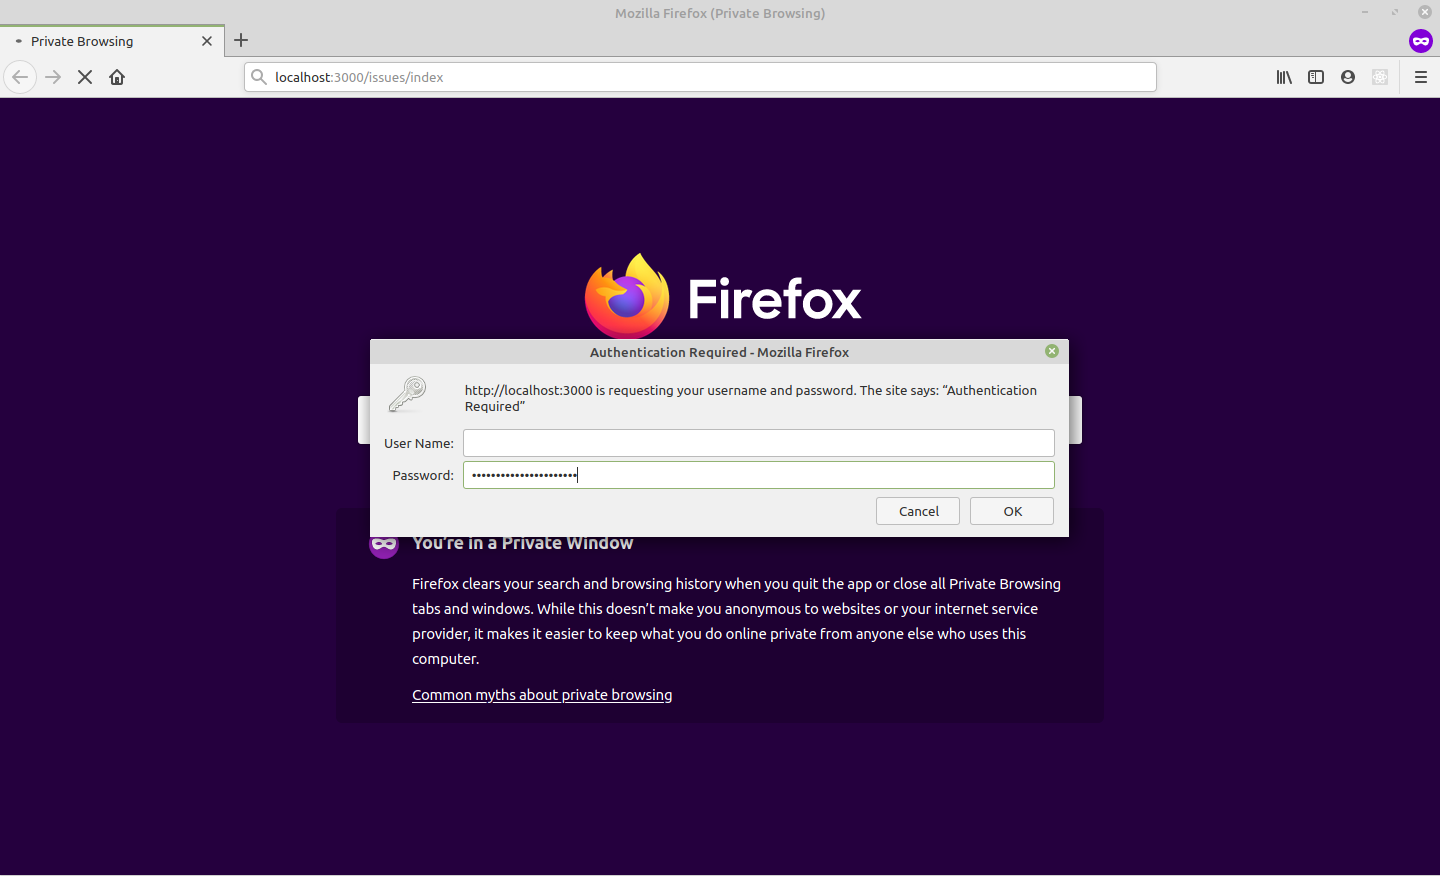
Credentials
You should have already received the application access credentials. Contact your local contact point for JSI - DIS to obtain new credentials.
Viewing all issues#
Go to http://localhost:3000/issues/index to view all the issues available within the database. The URL is a demo endpoint, only used for demonstration purposes, and is not optimized. Therefore, loading and table processing may take a minute and you will probably have to wait for the browser tab to become responsive. This may include clicking "Wait" option if it is presented to you by the browser.
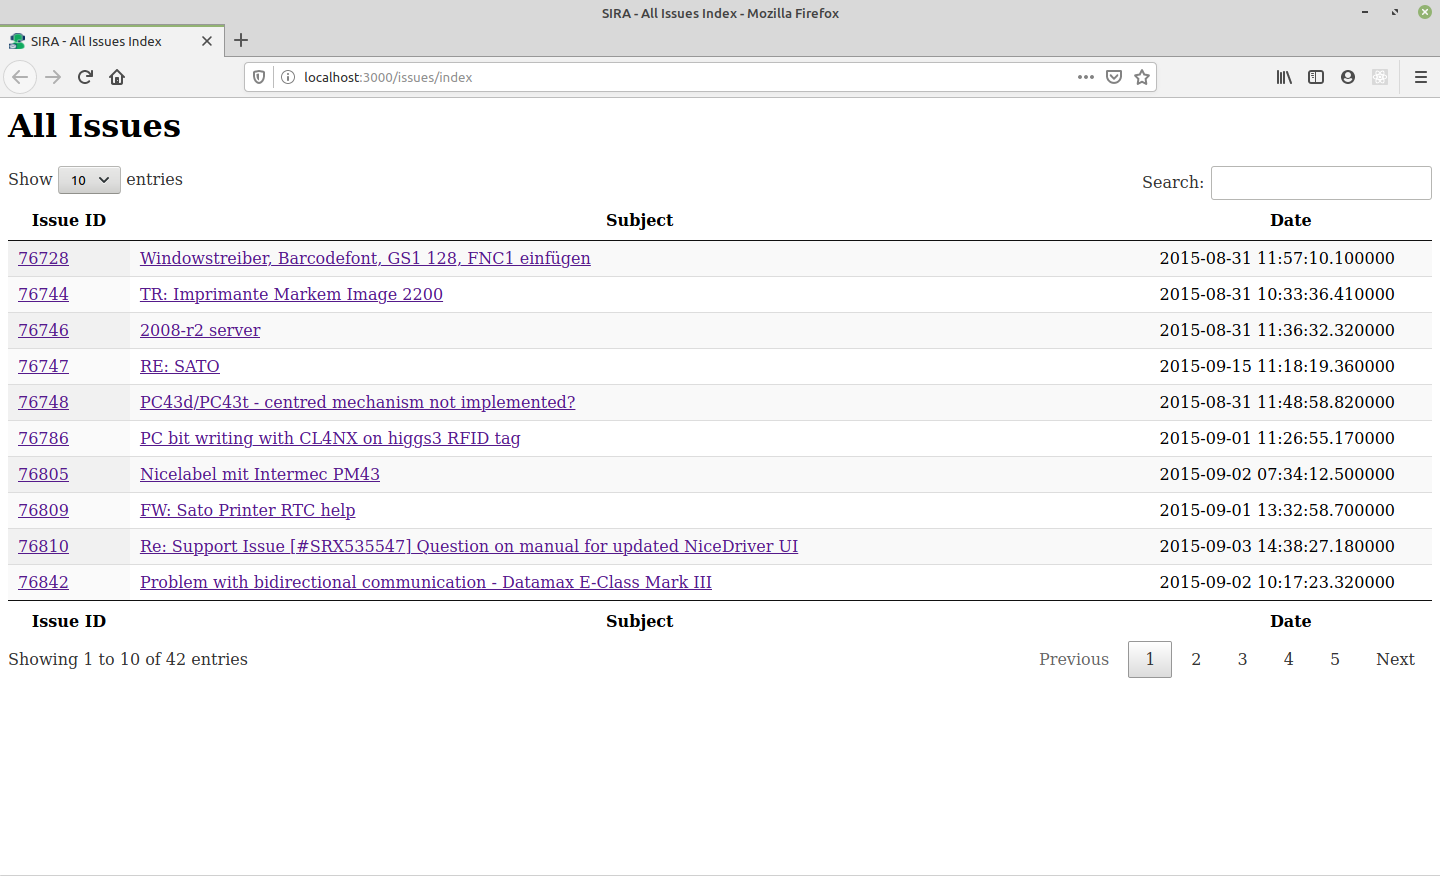
After the table is loaded, you can interact with it by sorting by columns, searching, and using pagination. Click on the issue number or issue subject to display the issue and see relevant issues as found by SIRA.
Application view#
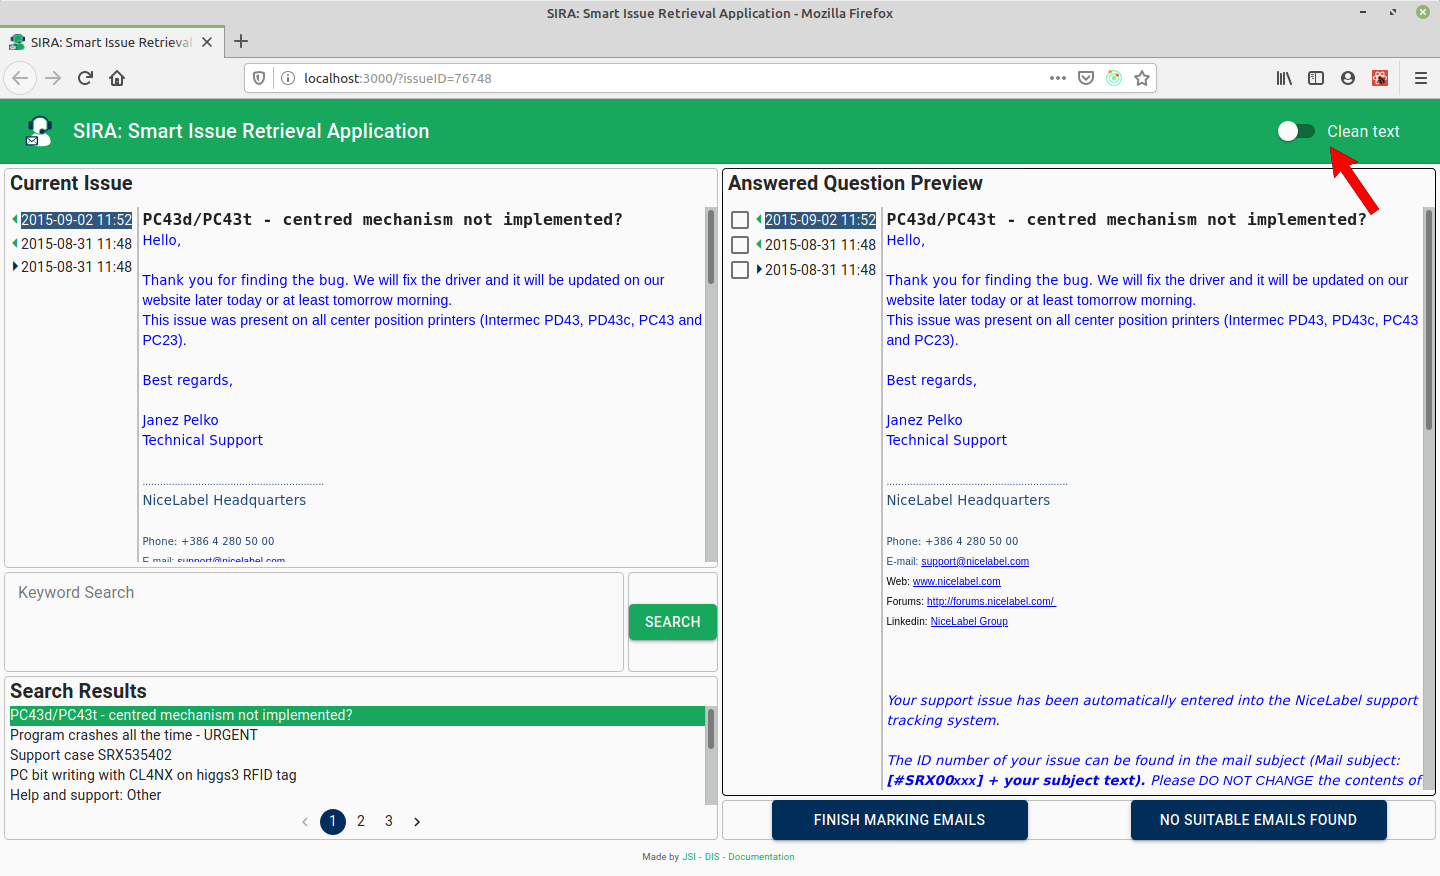
When on particular issue page, e.g., http://localhost:3000/?issueID=76746, you are presented with the following page:
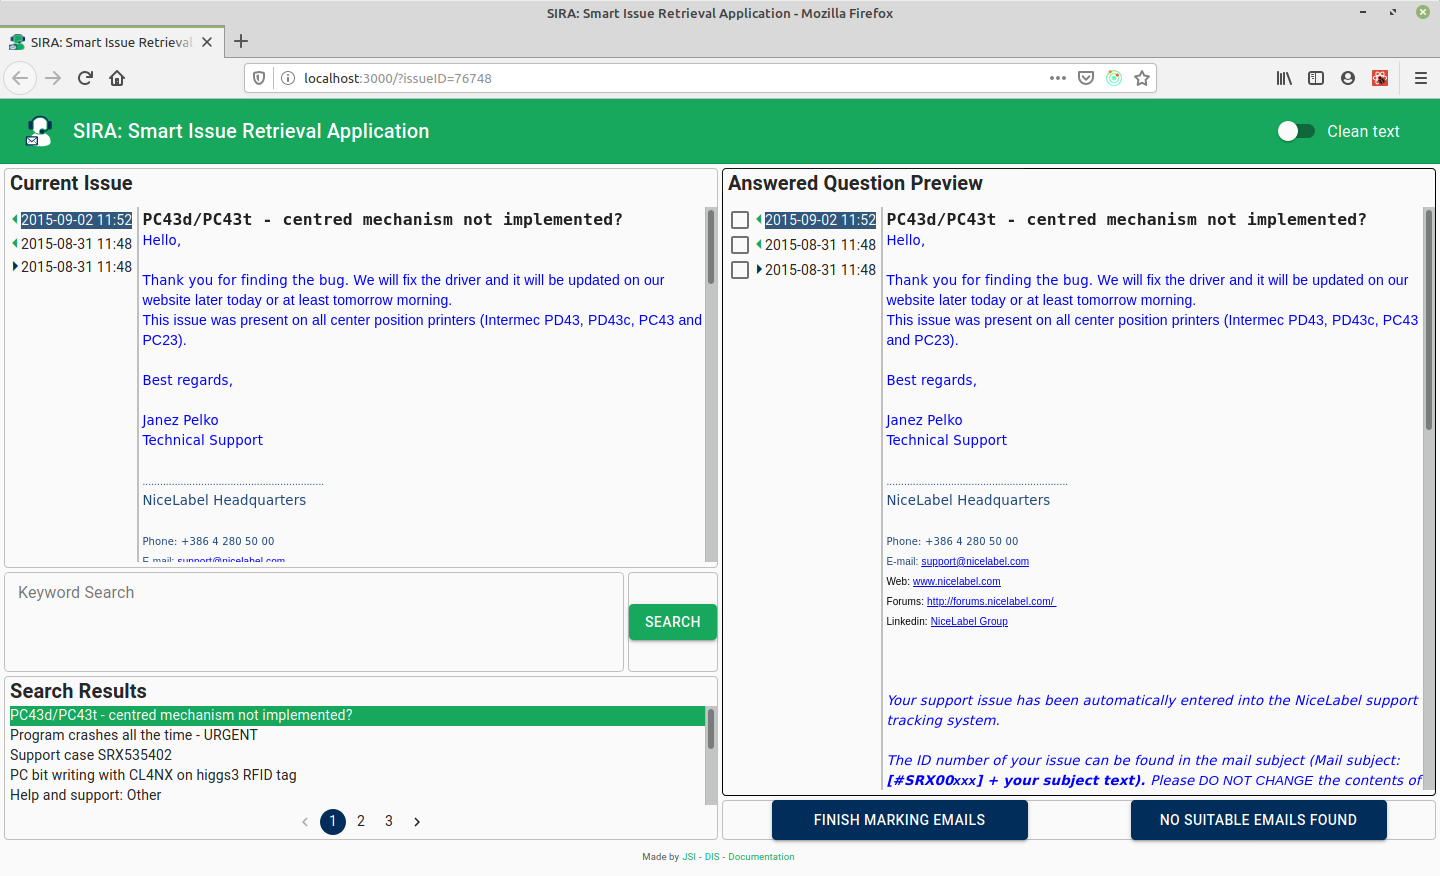
On top you can see:
- App title
- Clean text toggle - used for switching between HTML or cleaned text for email viewing
Following are five widgets:
- Current Issue - displays the chosen issue and related emails
- Keyword Search input field with Search button - here you can add keywords and re-trigger search by clicking the button
- Search Result - displays search results
- Answered Question Preview - shows the issue that was clicked
- Finish marking emails and No suitable emails found buttons - for finishing the marking of the issue
Issue viewer#
Each issue viewer widget (Current Issue and Answered Question Preview) consists of two panes.
On the left are the emails, sorted by Sent date, with the newest email at the top. The colors of triangles in front of the date represent the sender. If the sender was using the email of type "example@nicelabel.com", the triangle is green. In all other cases, the triangle is blue.
Triangle is colored green event if the sender is info@nicelabel.com, which sometimes means that the email was actually forwarded on behalf of a customer.
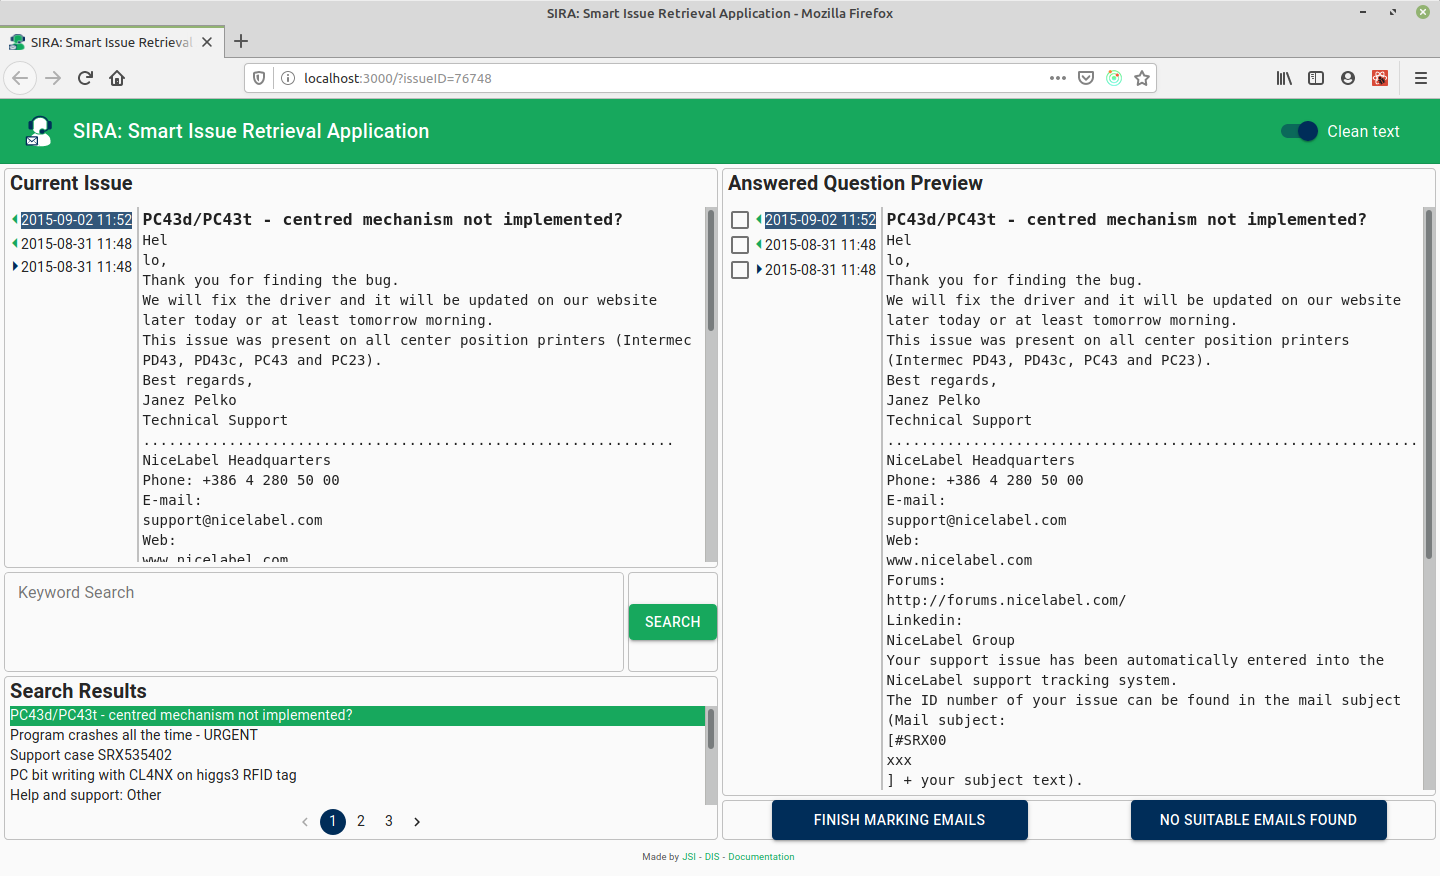
On the right is the text of the chosen email. The email can be displayed in unformatted text format if Clean text toggle is set to ON or rendered HTML format if Clean text toggle is set to OFF. The Clean text toggle value is stored in the local storage of your browser and will be reused when you visit the site later.
When Clean text is on, the email text displayed is cleaned of some unnecessary text - mainly HTML tags, email header info, and duplicated emails.
We are in the process of automatically removing other non-informative parts of email text.
Similar issue search#
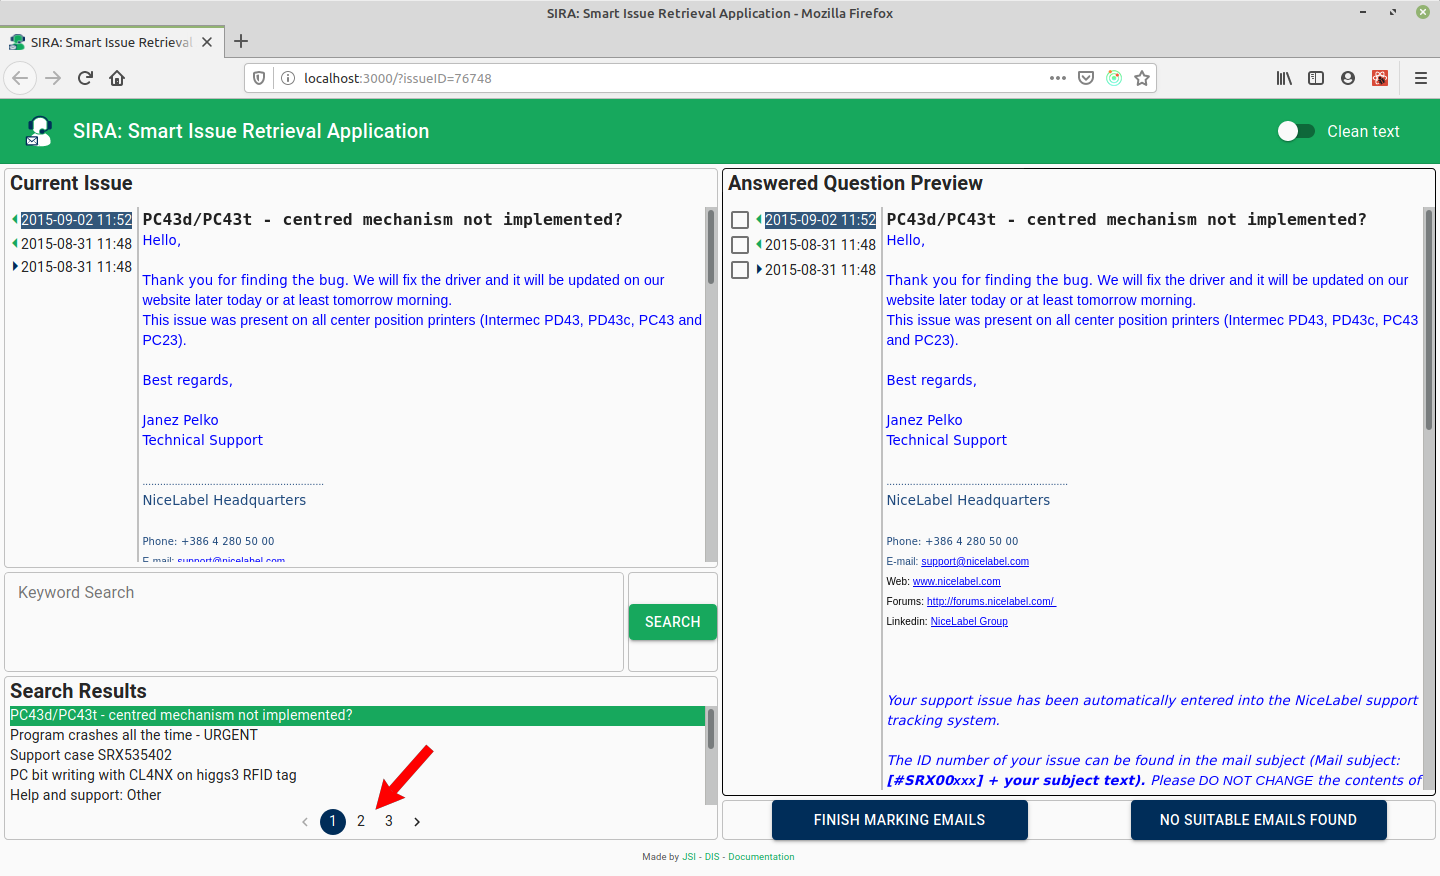
When you visit a particular issue page, e.g., http://localhost:3000/?issueID=76746, the search is triggered based on the text in the related emails and on possible keywords that were added to the particular issue in the past. Search results are displayed in the Search Result widget and can be clicked to view the corresponding emails in the Answered Question Preview widget.
When there too many results to comfortably fit in the Search Result widget, pagination is used. You can click on particular pagination page or use left and right arrows to view the results on a particular pagination page.
Using keywords#
You can add keywords or key-phrases to your search. Type in the keyword, which can consist of multiple words, and press "Enter".

If the keyword is changed to be outlined, then it is added and will be included in context when issuing a new search.

Now you can click Search button to start a search. Alternatively, you can press "Tab" to select the Search button and press "Enter" to start a search without leaving the keyboard.
You can also insert keywords or phrases that you do not want to appear in search results. In that case, add "-" (minus) just before the keyword.
The keywords suggestions already present in the database will appear when you start typing the keywords.
You can delete the keyword by clicking the cross sign next to the keyword or using "Backspace".
Storing the keywords - issue relations
If you need to change the keywords that belong to the certain issue, you have to issue the search. Only after that the keywords - issue relations are persisted.
Viewing search result issues#
After clicking a search result in the Search Result widget, the corresponding emails are shown in the Answered Question Preview widget. By default the email that was marked the most times as relevant in previous searches is displayed. The information about previously marked occurances is present to the right of the email sent date in the emails list.
![]()
Marking of relevant emails#
Do not forget to mark the emails
For improving the search functionality in the future, you must mark the emails and issues in cases when relevant emails were found, and in instances where no relevant emails were found.
The information about viewing and evaluating the search results are only written to the database when the buttons Finish marking emails or No suitable emails found are clicked.
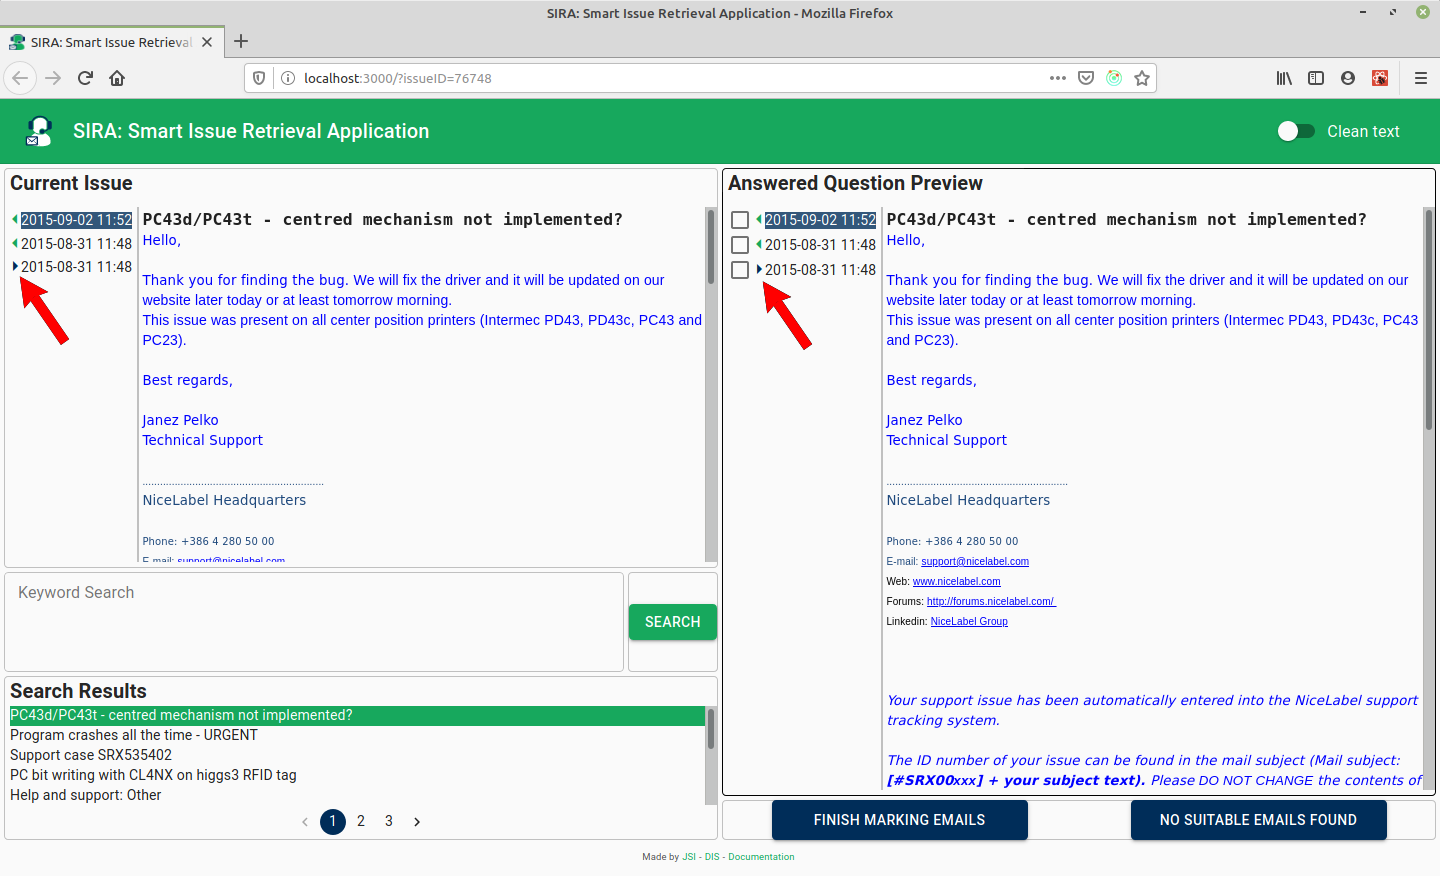
Relevant emails found#
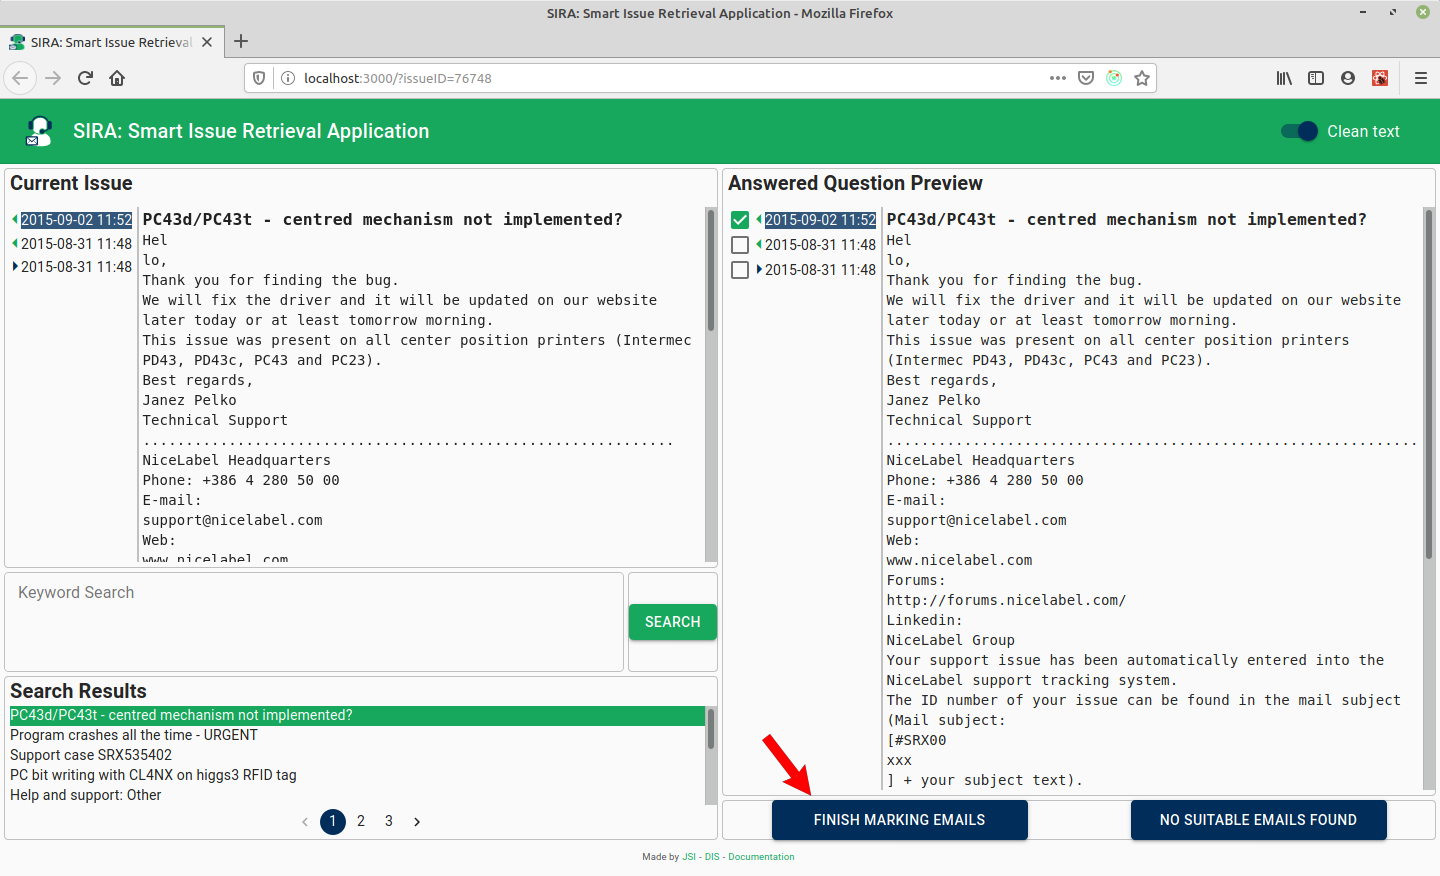
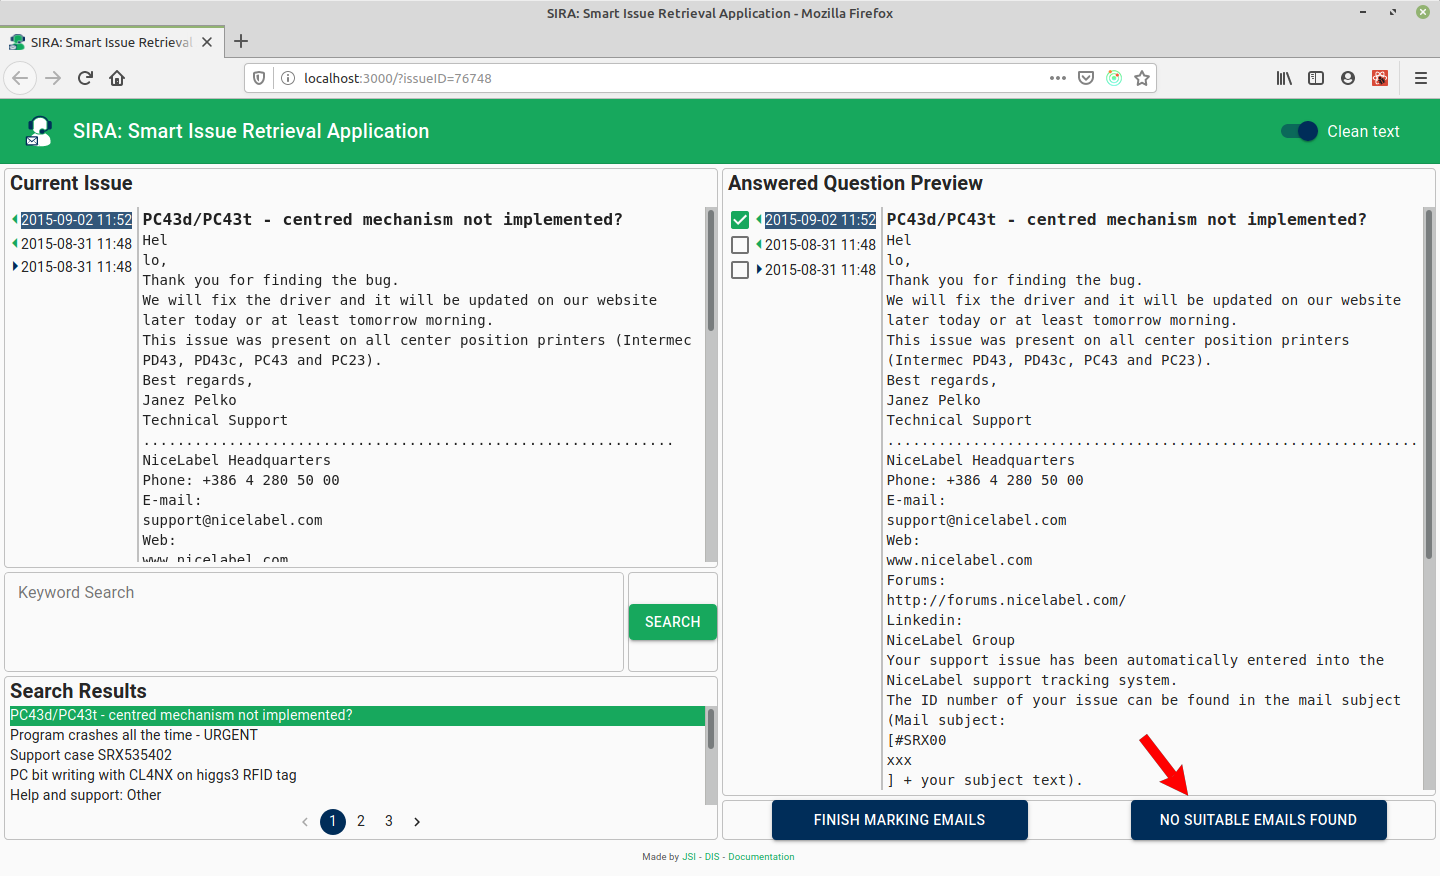
By marking the emails - checking the checkbox next to the email, you can mark the email from the Answered Question Preview as relevant for the Current Issue.
![]()
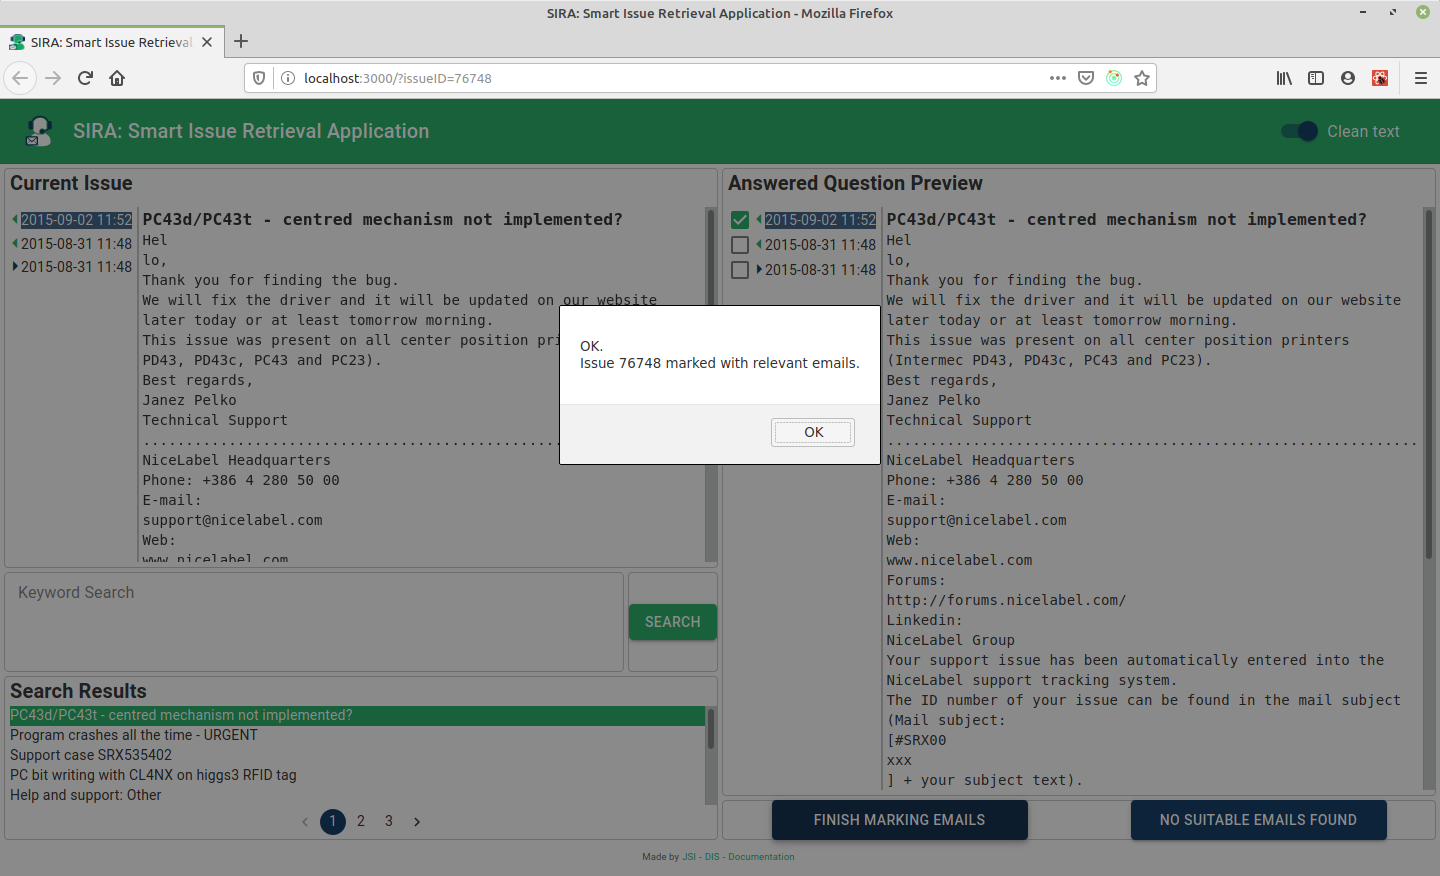
When the answer was found, and relevant emails were marked, the search can be completed by clicking the Finish marking emails button.
In the event of success, the confirmation message is displayed.
No relevant emails found#
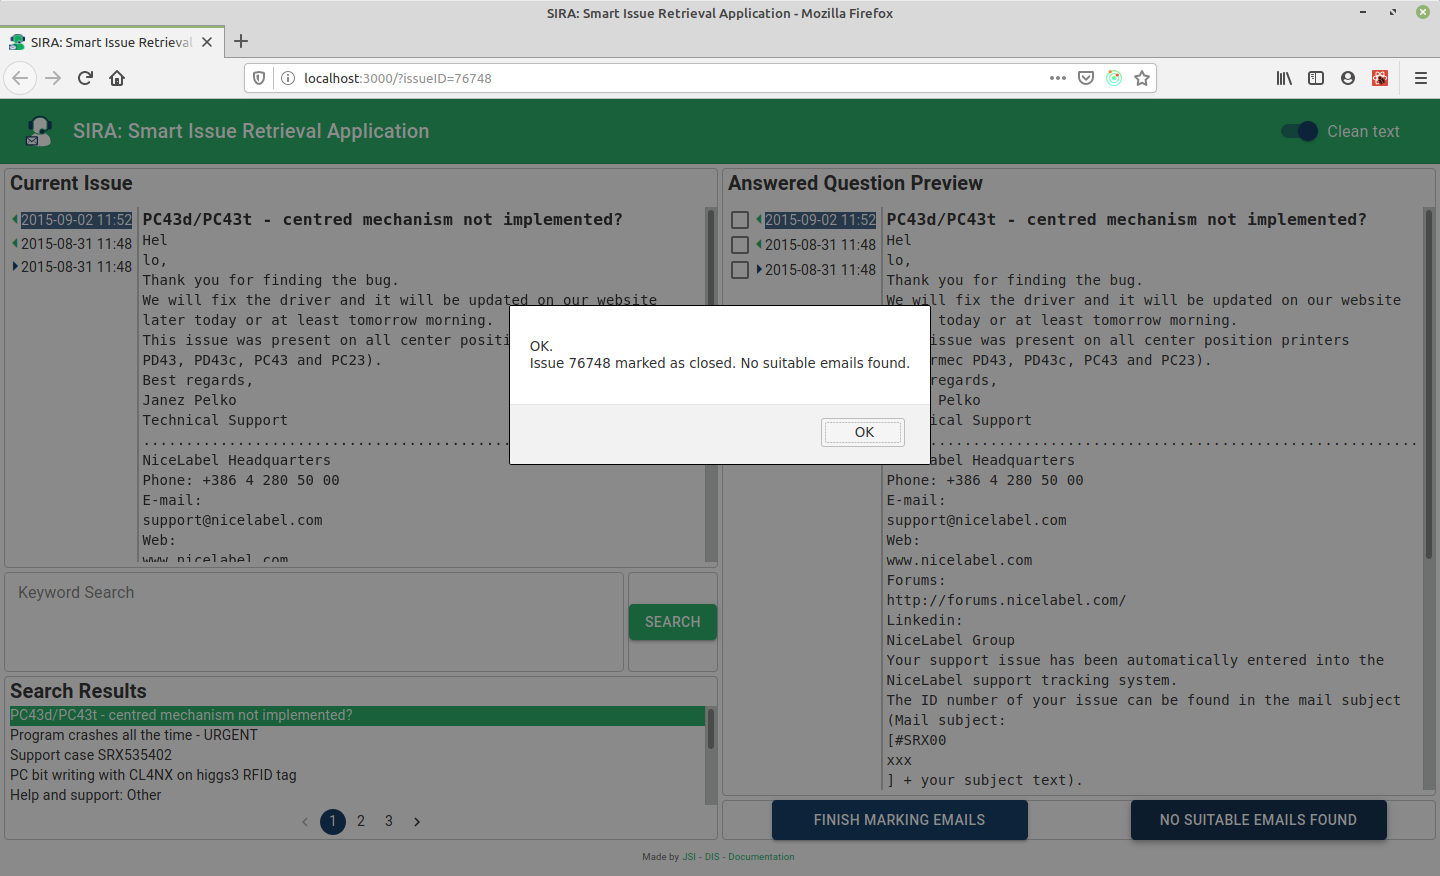
If no relevant email was found and several were checked using different keyword and negative keyword combinations, the issue can be marked by clicking the No suitable emails found button.
In the event of success, the confirmation message is displayed.
Troubleshooting#
Send an email to one of the JSI - DIS contact point for help in troubleshooting.
FAQ#
Here will be a list of frequently asked questions and issues and provided answers.